Your first week as a new resource creator
Updated November 14, 2026·3 min read
Seven small steps that turn 'someday' into a shop.
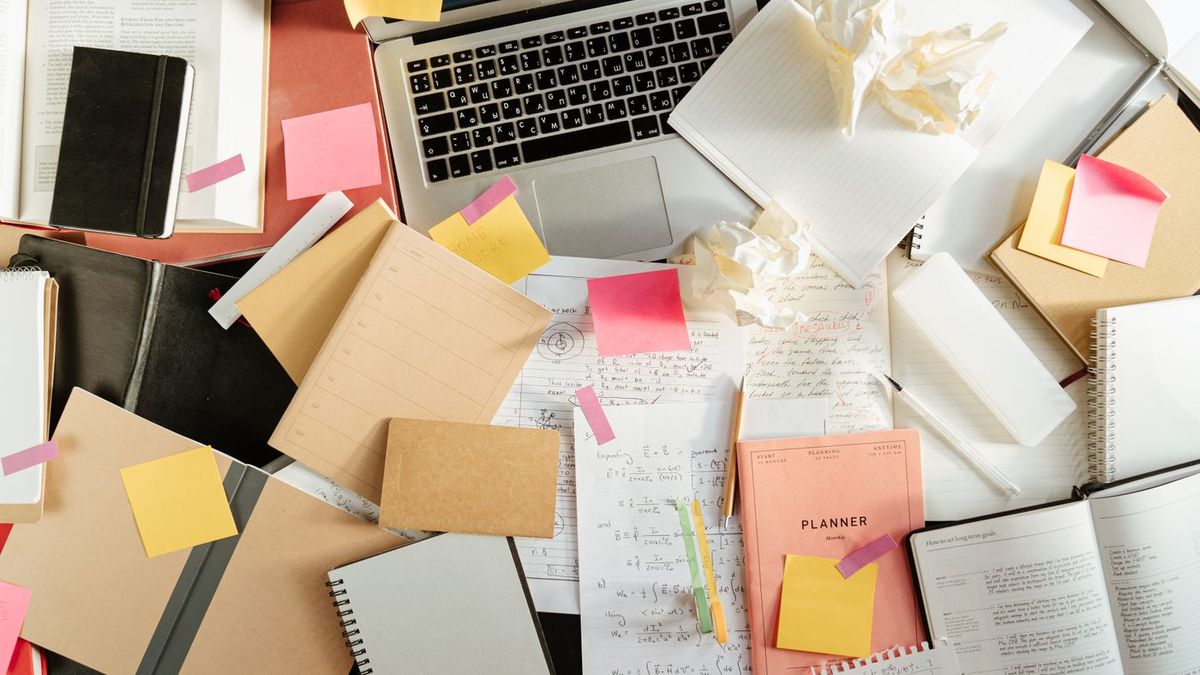
Starting is the hardest part. Here's a small plan.
Day 1 — Pick your lane. One subject or need you know well.
Day 2 — Choose three resources you already have.
Day 3 — Clean them up. Remove names, check fonts and images, add a how-to-use page.
Day 4 — Make covers. Square, readable when small, showing real pages.
Day 5 — Write descriptions using: what it is, who it's for, what's inside, how to use it.
Day 6 — Set prices. Price for the time you save someone, not the time it took you.
Day 7 — Tell ten people. Colleagues, a group you belong to, your own social account. Ask them to share it if it helps.
That's a shop. Everything after is adding to it.
Keep the first week small enough to finish
The seven-day outline is a starting point, not a deadline. If one resource needs more work than expected, finish that one before preparing the other two. A complete, usable activity is a better first step than three packs with missing instructions.
Give each work session a clear stopping point: proofread the instructions, test one printed copy or finish one description. Avoid spending the whole week adjusting a logo while the resource itself remains unfinished.
Run a stranger test
Hand the resource to someone who hasn't watched you use it. Ask them to explain what they would do first, what materials they need and how they would know the activity is complete.
Watch for instructions that rely on your presence. "Play as usual" means little to someone who doesn't know your classroom routine. Replace it with the actual steps, including who starts, how turns work and what to do with leftover cards.
If the resource includes answers, check them independently rather than simply rereading your original working. For open-ended tasks, include a sample response without suggesting that every child must produce the same answer.
Check the finished file, not just the design
Open the exported file on a different screen if you can. Look for clipped text, missing symbols, blank pages and links that lead to private documents. Print a representative page at the recommended settings.
Use this final checklist:
- The paper size and printing instructions are stated.
- Page numbers match any references in the guide.
- Fonts and images have suitable commercial permissions.
- Names, photos and other identifying information are removed.
- The cover and description match the final contents.
- Any supplies or adult preparation are listed before the activity.
Save the exact version you publish, with a clear internal filename. Keep editable source files separate so you don't accidentally replace the finished copy with a draft.
Share a useful example, not a sales pitch
When you introduce the resource, show the problem it addresses and one way to use it. For example: "This sorting activity is for children practising initial sounds. Here is how I would set it up for two learners."
Ask permission before posting in a group, and follow its promotion rules. Don't share children's work or identifying classroom details to demonstrate the activity.
After the first week, choose one next task based on what remains unclear. You might improve an instruction page rather than start a new product. The creator information page is a place to explore the selling side while you keep your own workload manageable.
What should you save for later?
Keep a separate list of possible extensions, seasonal variations and new topics. Unless an idea fixes a real problem in the first resource, it can wait. This gives you somewhere to put the enthusiasm without letting a small launch turn into a much larger project.
---
Make something that helps children learn? Start selling on Learning Kindred — you set your prices, keep your rights and can keep selling everywhere else.